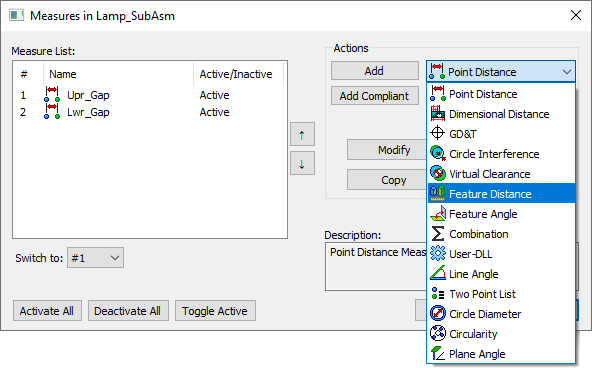
Finally, we will create a Feature Distance measure to track the minimum value along the entire gap.
•Select the Feature Distance measure from the drop-down list.

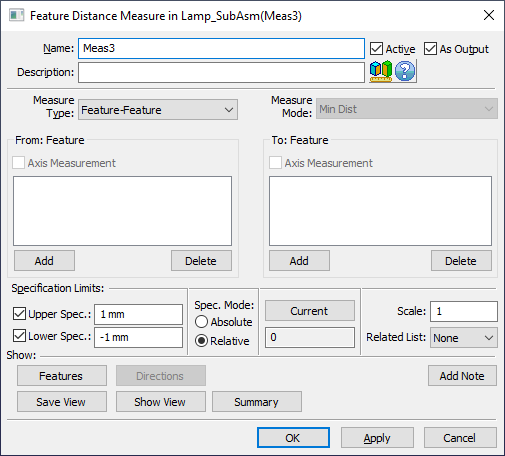
•Click [Add]. This will open the Feature Distance Measure dialog.

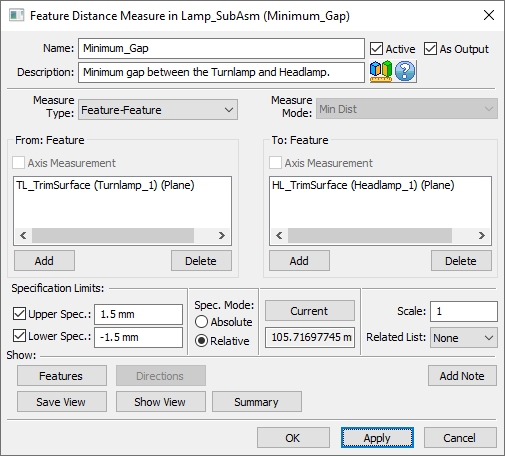
•Change the Name to "Min_Gap".
•Enter the Description as "Minimum gap between the Turnlamp and Headlamp.".
•Set the Measure Type to Feature-Feature.
•Under the From: Feature list, click [Add].
•Select the feature TL_TrimSurface of the Turnlamp.
•Click [Close] to close the Select dialog.
•Under the To: Feature list, click [Add].
•Select the feature HL_TrimSurface of the Headlamp.
•Click [Close] to close the Select dialog.
•In the Specification Limits area, set the Upper Spec as 1.5mm and set the Lower Spec as -1.5 mm.
•Set the Spec. Mode to Relative.
•Click [Apply] to save the measure.
The completed Min_Gap measure should look like the image below. No directions are used in the Feat Distance measure because it is always using the minimum distance between the two surfaces.

•Use the [Features] button to verify the features are correct.
•Click [OK] in the Feature Distance Measure to save the measure and close the dialog.
•Click [OK] in the Measures dialog.
•Save the model.
Later in this tutorial, we will have to import the 3DCS data from Analyst_Tutorial_Lesson6 into a different Simulation. To do this, we must export and later import a WTX file. WTX files contain all of the 3DCS storage data for a model, with none of the actual CAD geometry.
•Select the Final_Assembly from the Navigation Tree.
•Under the ![]() Import drop-down, select
Import drop-down, select ![]() Export.
Export.
•Select Lamp_SubAsm in the tree.
•Save the WTX as "Analyst_Tutorial_Lesson6" in your same working directory.