Changing Colors
In this section, we will change the part colors. Using different colors can make it easier to differentiate between parts in the Graphics window. The part color will set the color of the points and meshBoth the part color and point and mesh colors can be changed at any time.
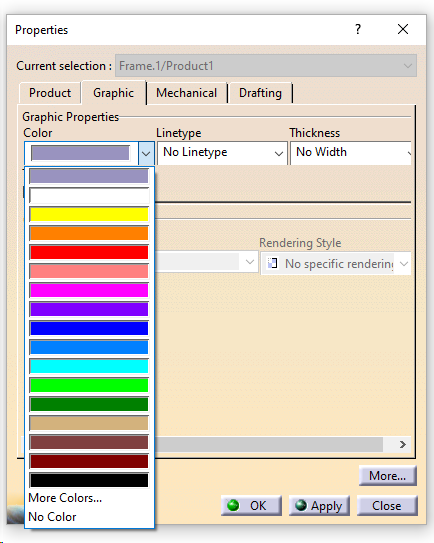
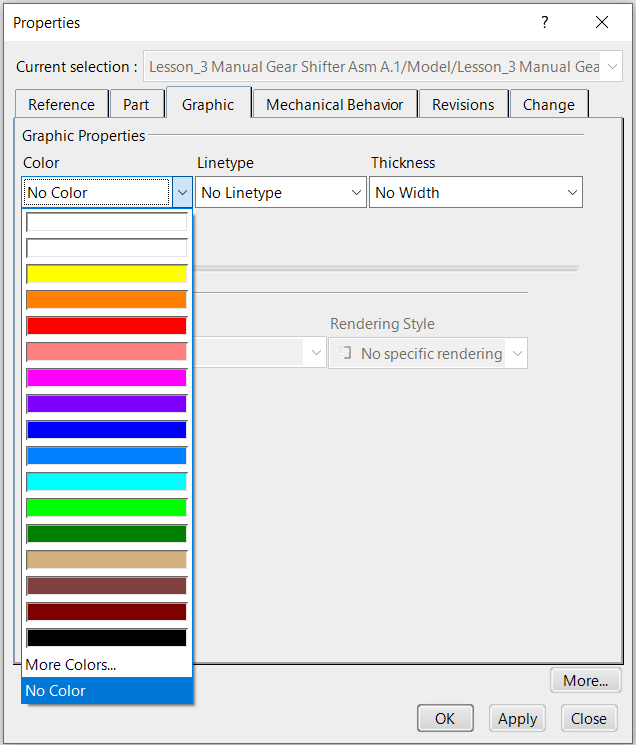
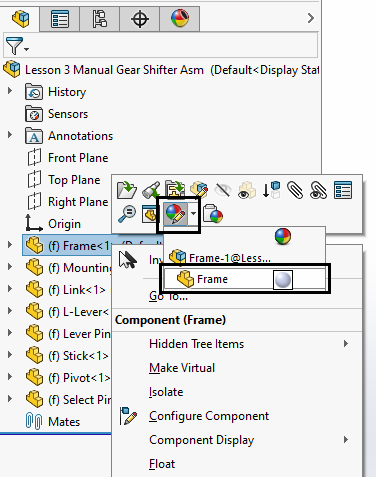
•Right-click the Frame in the Navigation Tree and select Properties.
•Select the Graphic tab.
•In the Color drop-down list, select Grey color.
•Click [OK] and the Frame color will change to Grey.
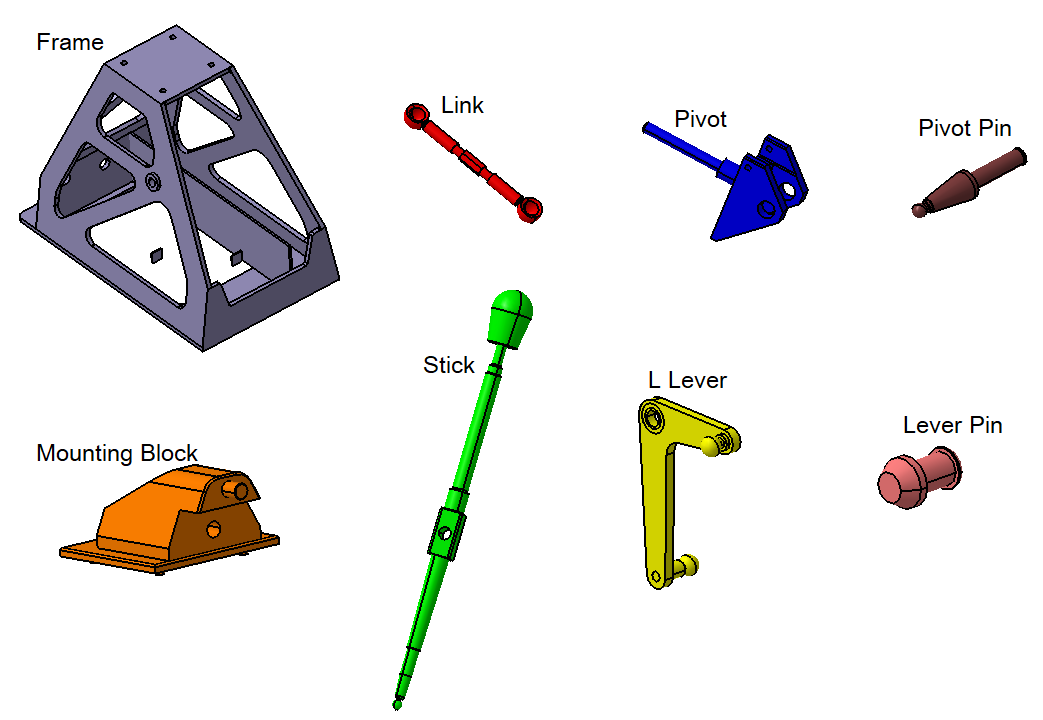
•Repeat this process to change the color on other Parts as shown in the Image.
•Click ![]() Update Model.
Update Model.
•Select the Frame from the Creo Model Tree.
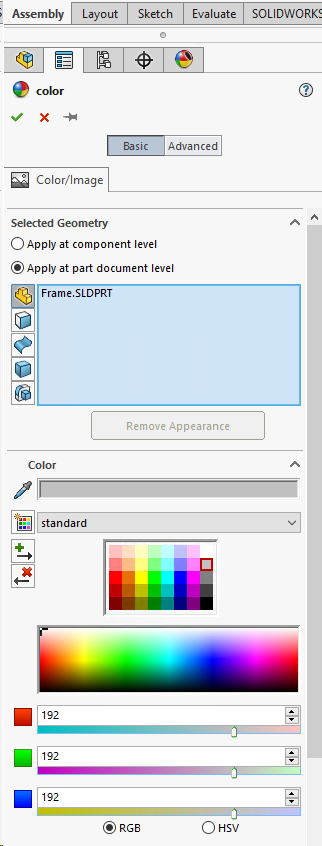
•Select the Render tab and click the Appearance Gallery drop-down list.

•Select More Appearances option from the Appearance Gallery Dialog
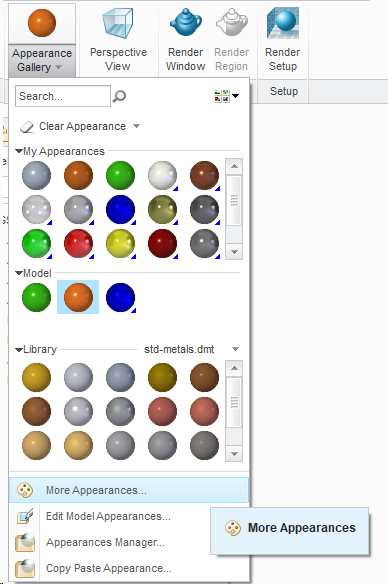
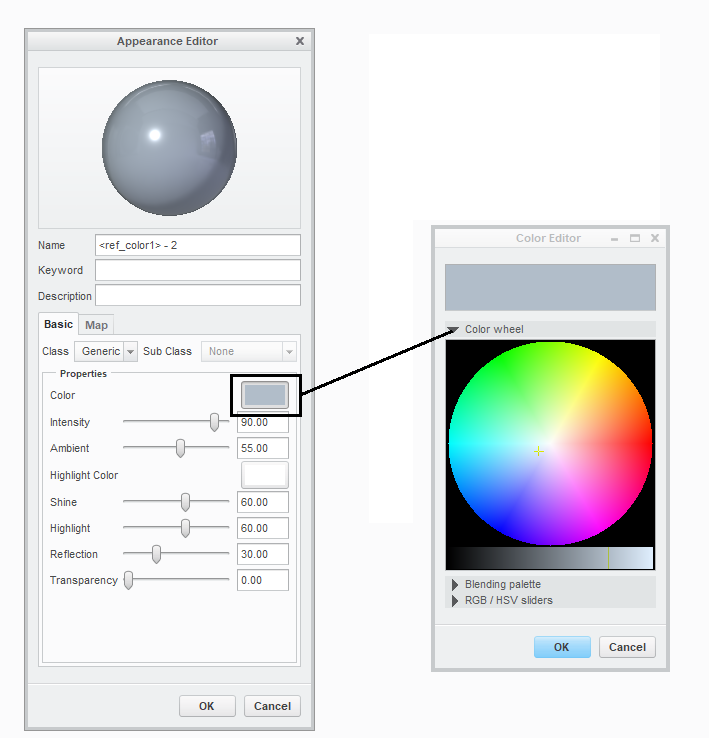
•Select the color box which will open the color Editor Dialog to select colors from the color wheel.
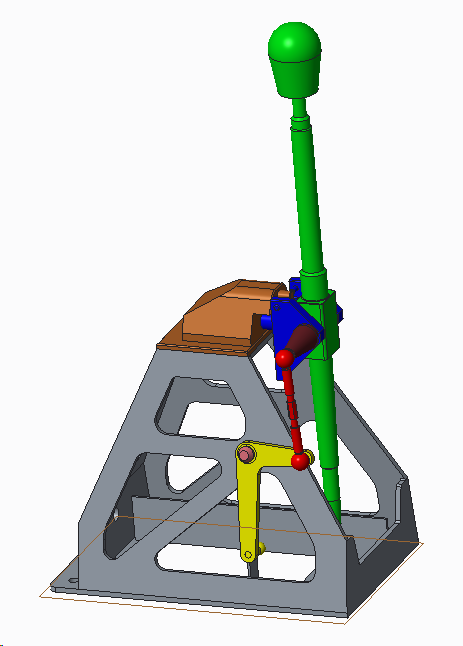
•Repeat the process for all the parts and pick the colors similar to the image below,
•Switch to the 3DCS tab.
•Click ![]() Update Model.
Update Model.
•Right-click the Frame part in the NX Assembly Navigator tree and choose the![]() Edit Display icon.
Edit Display icon.

•In the General tab, in the Basic section, click the gray box to the right of Color.
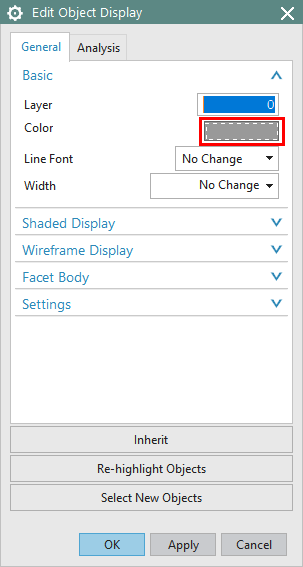
•Select Silver Grey then click [OK] in the Color dialog.
•Click [OK] in the Edit Object Display dialog.
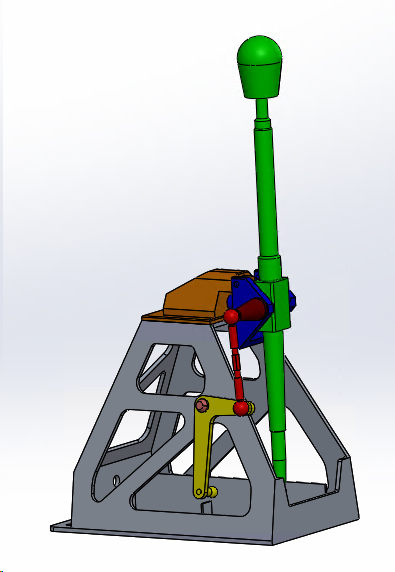
•Repeat this process and change all the Part colors referring the image below.
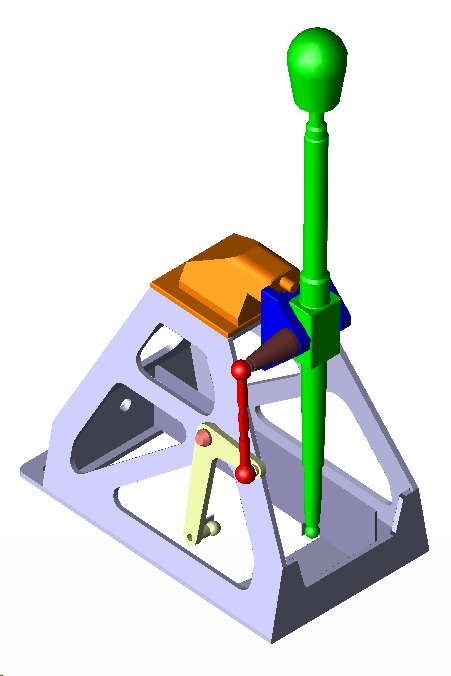
•The completed model should look like the image below.
•Switch to the 3DCS tab.
•Click ![]() Load 3DCS if not already loaded.
Load 3DCS if not already loaded.
•Click ![]() Update Model.
Update Model.
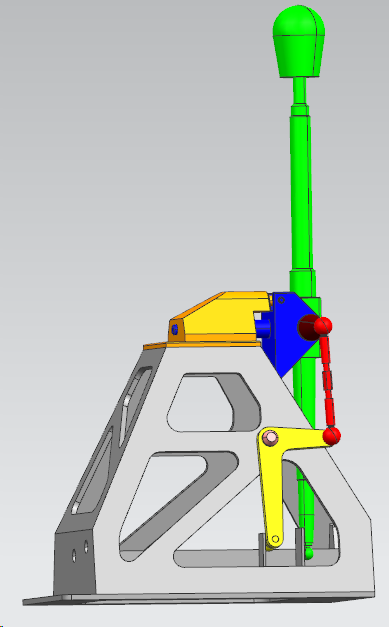
•Select Frame part from the tree and right click to select Appearances and select Frame from the Appearances drop down.
•This will open the color pallet.
•Select Grey color from the list and hit the green check mark.
•Repeat the same steps to add color on all other parts referring the image below.
•Switch to the 3DCS Variation Analyst Tab and click ![]() Update Model.
Update Model.
•Double-click Frame in the Navigation window to open the Edit Part dialog.
•Click the [Color] button.
•In the Color dialog, select Grey then click [OK].
•Un-check Show Color Contour if checked then select All DCS under HSF Color.
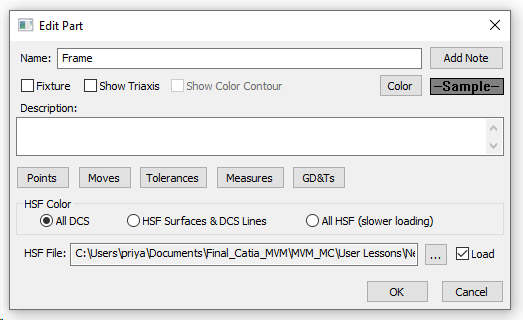
Note: HSF Color controls how a part's color is set.
![]() All DCS: The parts will have the color set by the user in the Edit Part dialog box.
All DCS: The parts will have the color set by the user in the Edit Part dialog box.
![]() HSF Surfaces & DCS Lines: The surfaces will have the same color as the HSF file and the edges will have the color set by the user in the Edit Part dialog box.
HSF Surfaces & DCS Lines: The surfaces will have the same color as the HSF file and the edges will have the color set by the user in the Edit Part dialog box.
![]() All HSF (slower Loading): Both the surfaces and the edges will have the same color as the HSF file.
All HSF (slower Loading): Both the surfaces and the edges will have the same color as the HSF file.
•Click [OK] in the Edit Part dialog.
•Repeat this process to change the colors of all the parts referring the image below
The Model will look like image below,