Procedure:
1.Start in the desired Model View just as done in the Creating Datums section.
2.Change the Application mode to Modeling (Ctrl+M).

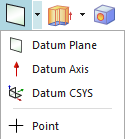
3.Switch to the Home tab and expand the Plane menu, select Point.

4.Create a point on a surface or edge.
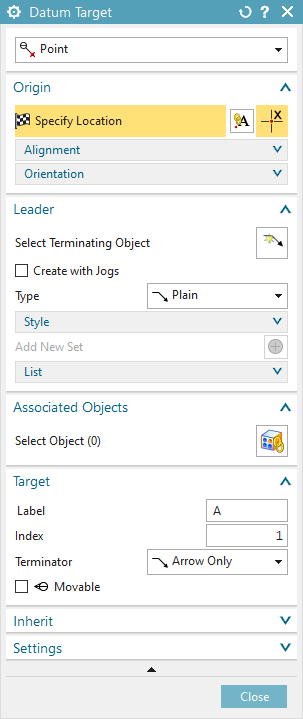
5.Once the points are all created, click![]() Datum Target. The following dialog will pop up. Select the Point created on the feature for each Datum Target.
Datum Target. The following dialog will pop up. Select the Point created on the feature for each Datum Target.

6.Under the Associated Objects tab, select the surface that should be associated with the Datum Target.
7.Click [Select Terminating Object] under the Leader tab. Click one of the points created in step.
8.Specify the plane under the Orientation Tab. Place the Datum Target in the display.
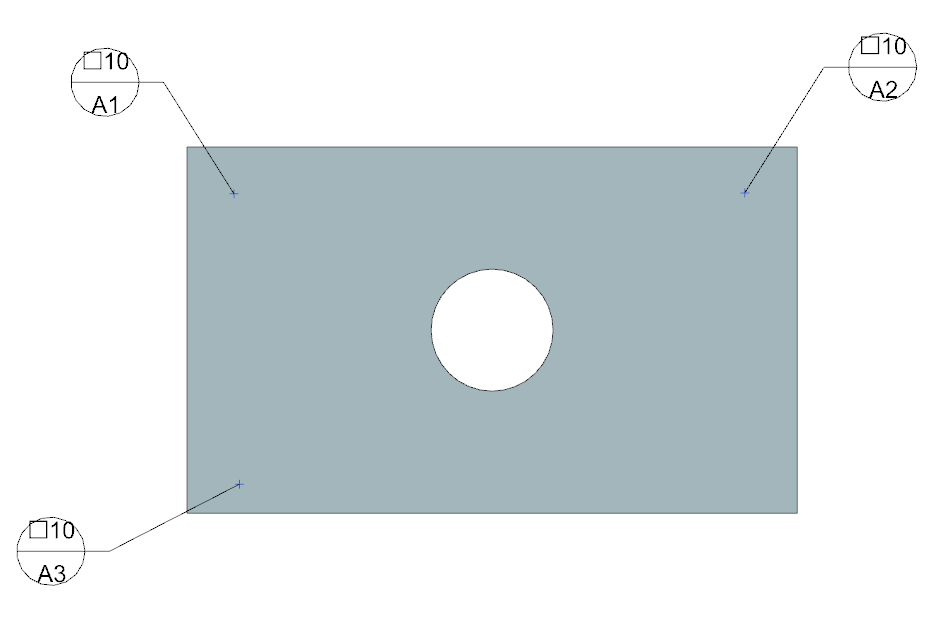
9.The user can change the Index value under the Target tab. This allows multiple A Datum Targets such as A1, A2 and A3.
10. It is important to create a Datum for the surface that the targets are on. If no main datum is created the targets will not extract correctly.
