XI. Lock and clamp the Upper
11.1 LockDOF_Upper_hole/slot
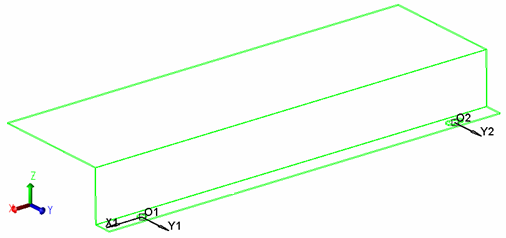
The B_Upper hole will be locked in X-dir and Y-dir and the C_Upper slot will be locked in Y-dir only. This way the hole and slot can slide on the AsmFixture pins in Z-dir.
11.1.1 Select the![]() LockDOF icon and choose the CMRailAsm product as parent part.
LockDOF icon and choose the CMRailAsm product as parent part.
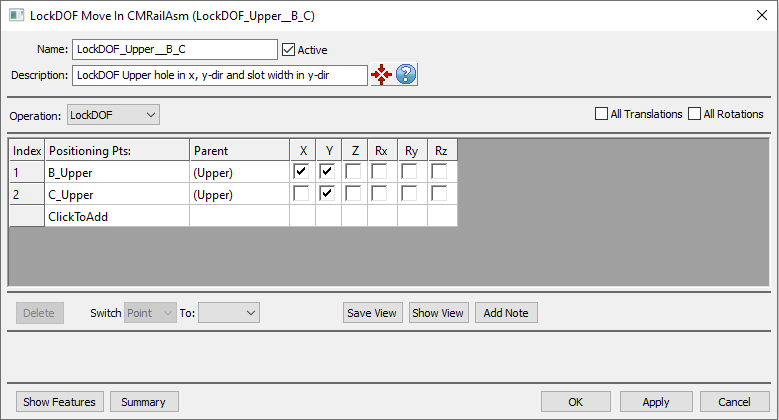
11.1.2 Name the move "LockDOF_Upper_B_C". With a description of "LockDOF Upper hole in x, y-dir and slot width in y-dir".
11.1.3 Click on the [ClickToAdd] button in the LockDOF Pts section and select points B_Upper and C_Upper on the Upper part from the Navigation Tree or from the Graph window.
11.1.4 In the XYZ section check the X and Y boxes for B_Upper to constrain it in X and Y directions.
11.1.5 In the XYZ section check the Y box for C_Upper to constrain it in Y direction only. This will allow the C_Upper point to slide in Y-dir, along the Fixture pin.
11.1.6 Rx, Ry, Rz are rotational degrees of freedom. Leave the rotations free.

11.1.6 The completed dialog box should appear as below:

11.1.7 Click [OK] to close the LockDOF move dialog box.
11.2 Clamp_Upper_2_Base__A1_A2_seq_inf
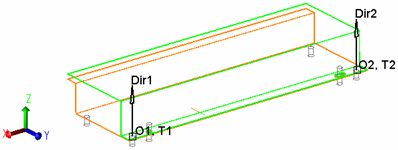
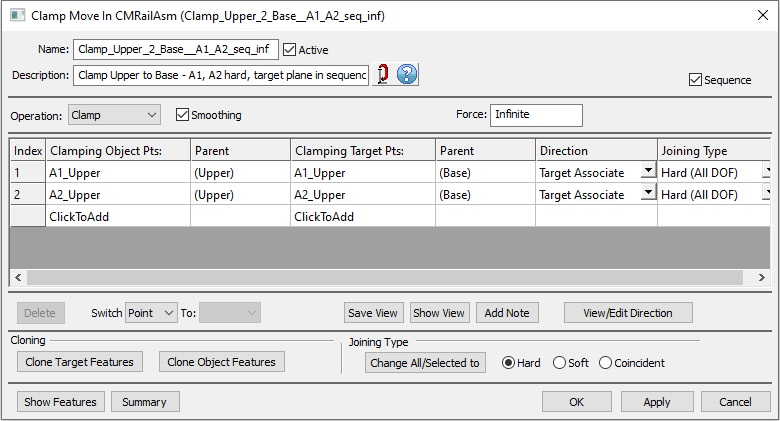
Points A1_Upper and A2_Upper will be clamped to the AsmFixture using Target Associate direction and Hard (All DOF) joining type with Infinite force and in Sequence.
11.2.1 Select the![]() Clamp icon and choose the CMRailAsm product as parent part.
Clamp icon and choose the CMRailAsm product as parent part.
11.2.2 Name the move "Clamp_Upper_2_Base__A1_A2_seq_inf".
11.2.3 Click on the [ClickToAdd] button in the Clamping Object Pts section and select points A1_Upper and A2_Upper for the Upper in the Navigation Tree or from the Graph window.
11.2.4 Click on the [ClickToAdd] button in the Clamping Target Pts section and select points A1_Upper and A2_Upper for the Base in the Navigation Tree or from the Graph window.

11.2.5 The completed dialog box should appear as below:

11.2.6 Click [OK] to close the Clamp move dialog box.
11.2.7 Save the model.
Results:
The nominal values of the measurements after LockDOF and clamping the Upper will have very small, insignificant changes.