Creating Datum Targets
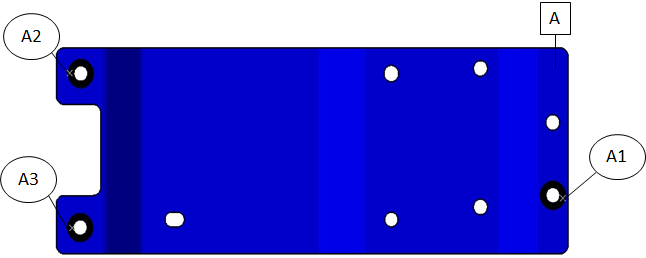
1. Create points in 3DEXPERIENCE on surface(s) that will represent datum targets A1, A2, A3, etc.
•These points MUST lay directly on the surface. If not, the datum targets will not be created and will not be extracted into 3DCS.
2. With the Tolerance Advisor open, multi-select (Ctrl + left-click) the surfaces that will represent datum A and target datums
3. Select the datum icon
4. Click in the blank list and select Add...
•"Create a DRF with the last created datum" will generate a Datum Reference Frame for datum A.
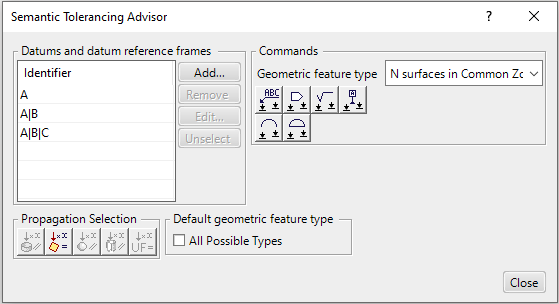
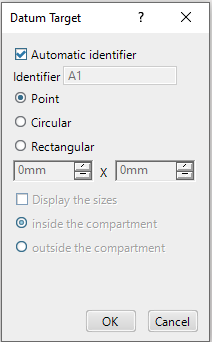
5. With the Point Only option selected, select a point created from step 1.
Creating Datum Targets (Non-parallel surfaces)
1. Create points in 3DEXPERIENCE on surface(s) that will represent datum targets A1, A2, A3, etc.
•These points MUST lay directly on the surface. If not, the datum targets will not be created and will not be extracted into 3DCS.
2. With the Tolerance Advisor open, multi-select (Ctrl + left click) the surfaces that will represent datum A and target datums
3. Select the Datum Icon (The Geometrical Feature type may need to be changed to All Possible Types, in the drop-down)
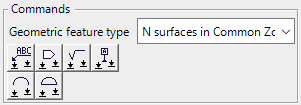
4. Highlight the Datum Direction box and select a pre-created Plane, surface, or the original part Planes
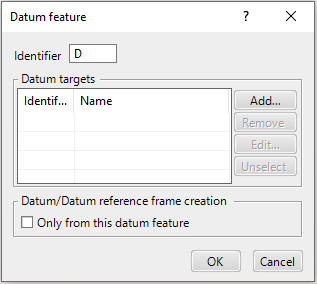
4. Click in the blank list and select Add...
•"Create a DRF with the last created datum" will generate a Datum Reference Frame for datum A.
5. With the Point Only option selected, select a point created from step 1