Last we will add GD&T to the Turnlamp. You will do this section on your own without instructions for every step.
•Click the ![]() GD&Ts button then select the Turnlamp.
GD&Ts button then select the Turnlamp.
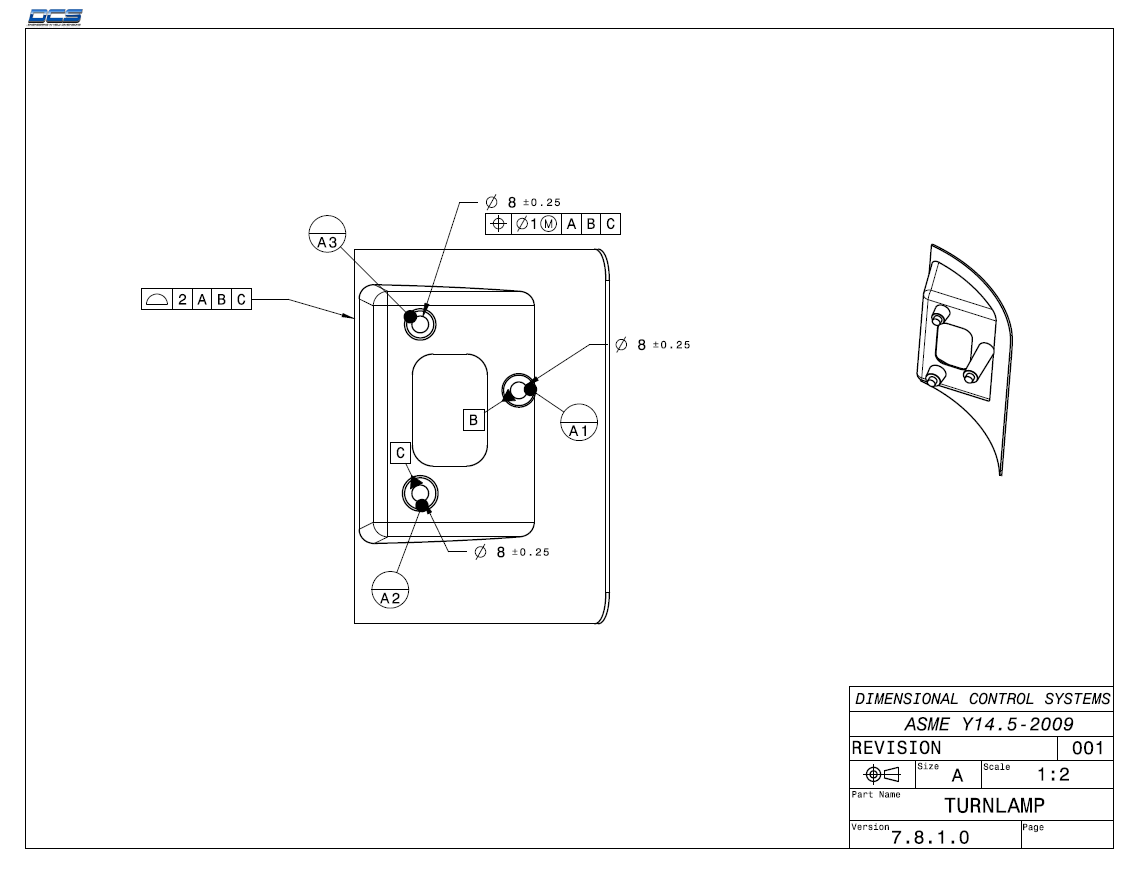
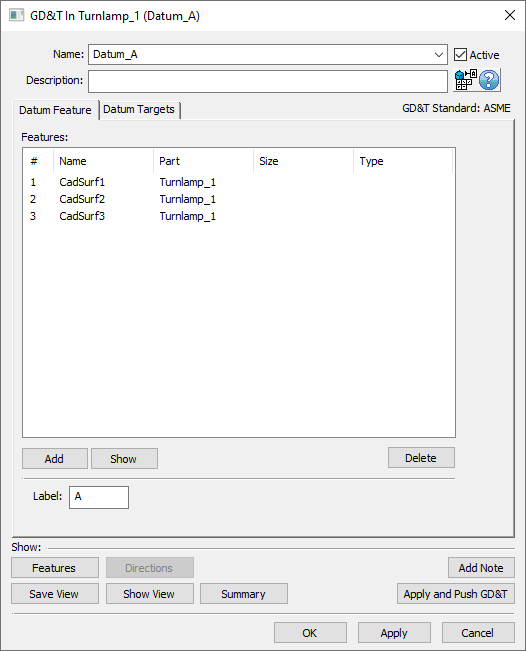
•Create a Datum Feature GD&T named "Datum_A" with the three surfaces highlighted in the image below. These surfaces are the A datum features in the print.
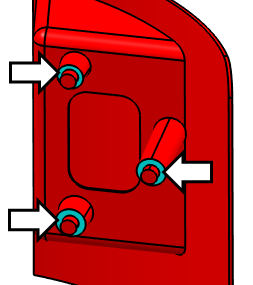
The completed GD&T dialog should look like the image below. Your CadSurf numbers may be different.
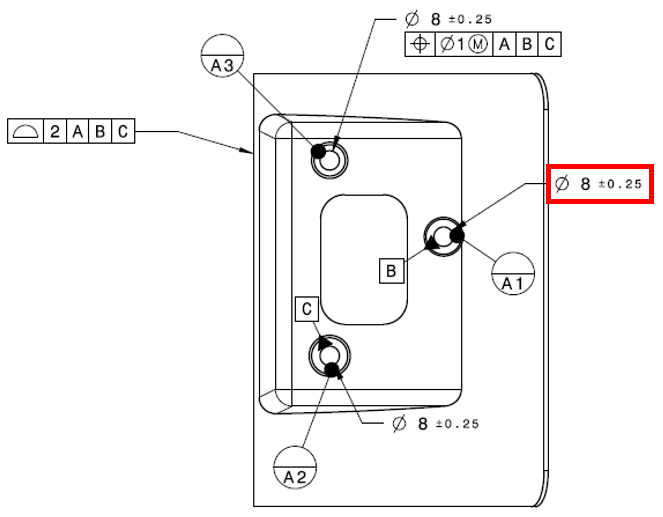
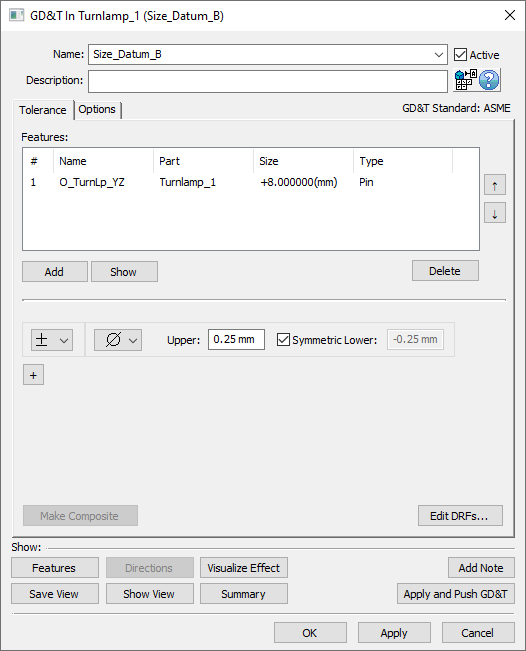
•Create a Size GD&T named "Size_Datum_B" for the B datum pin.
The completed GD&T dialog should look like the image below.
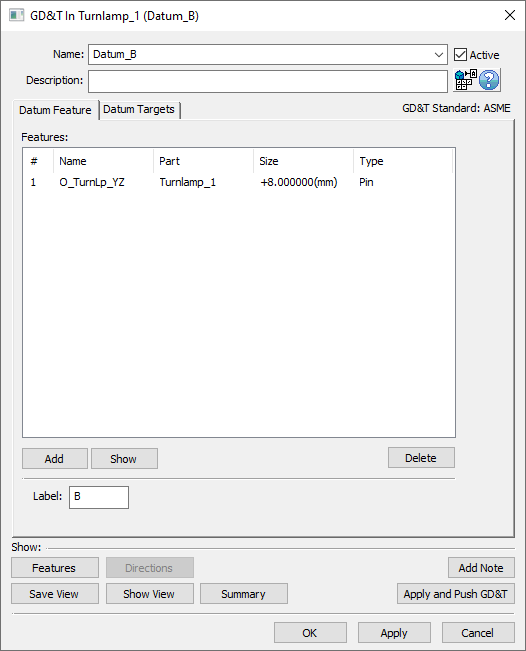
•Create a Datum Feature GD&T named "Datum_B" for the B datum pin. The completed GD&T dialog should look like the image below.
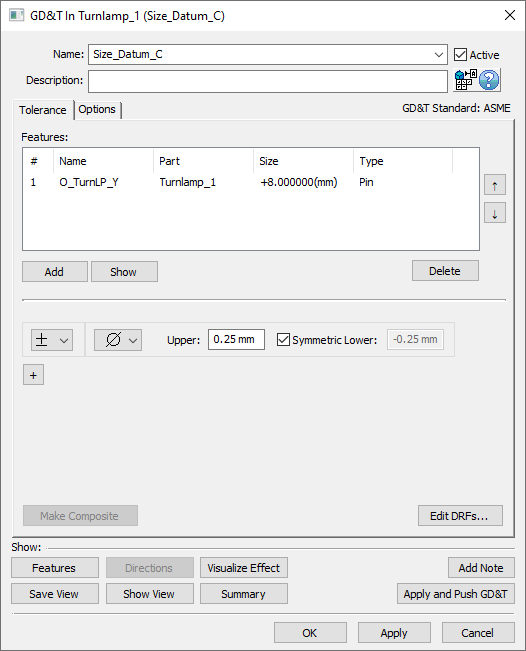
•Create a Size GD&T named "Size_Datum_C" for the C datum pin.
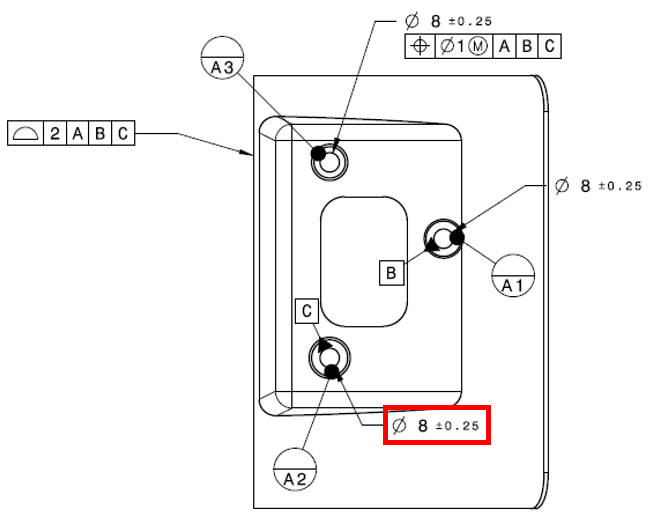
The completed GD&T dialog should look like the image below.
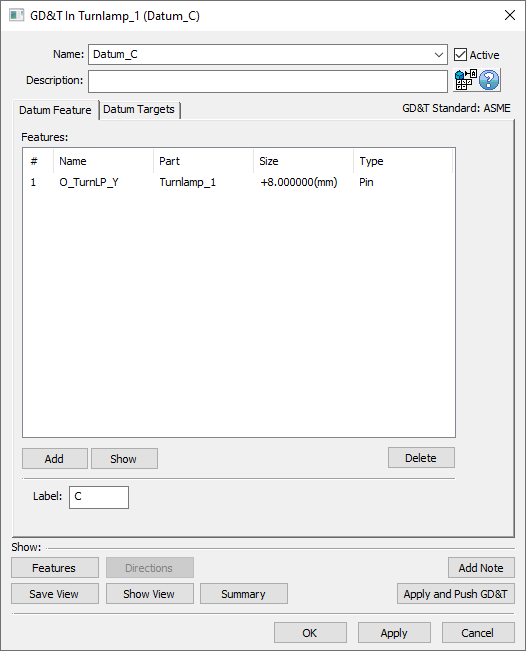
•Create a Datum Feature GD&T named "Datum_C" for the C datum pin. The completed GD&T dialog should look like the image below.
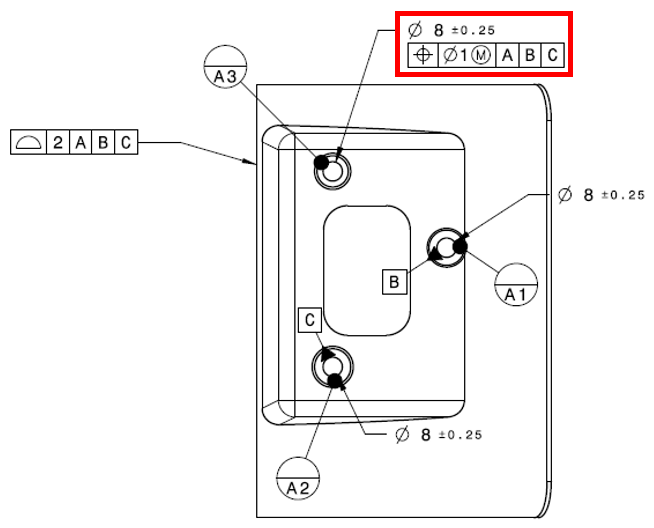
•Create a Size GD&T named "Size_Clearance_Pin" and a Position GD&T named "Position_Clearance_Pin" for the clearance pin (the upper, inboard pin).
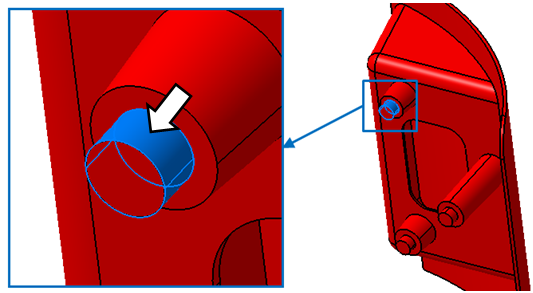
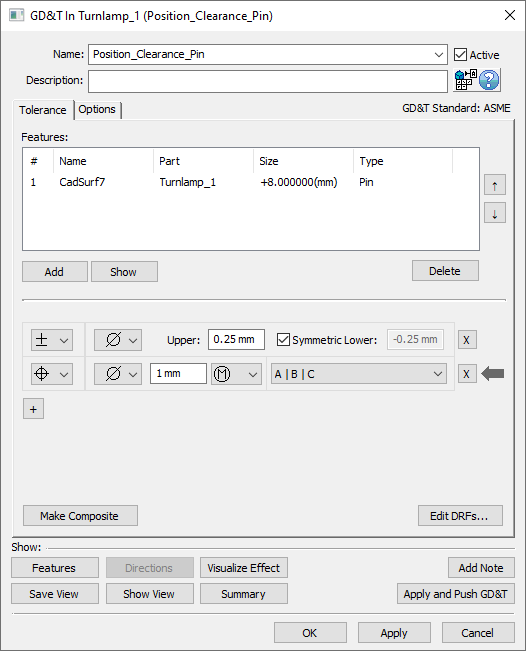
The completed GD&T dialog should look like the image below. Your CadSurf number may be different.
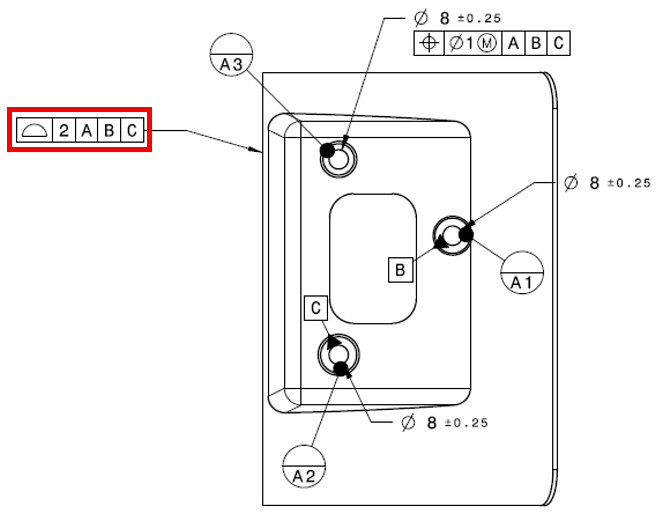
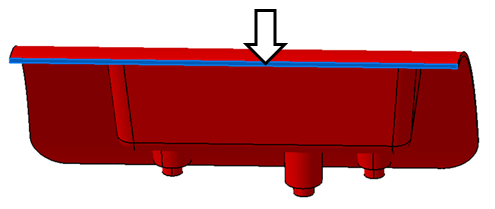
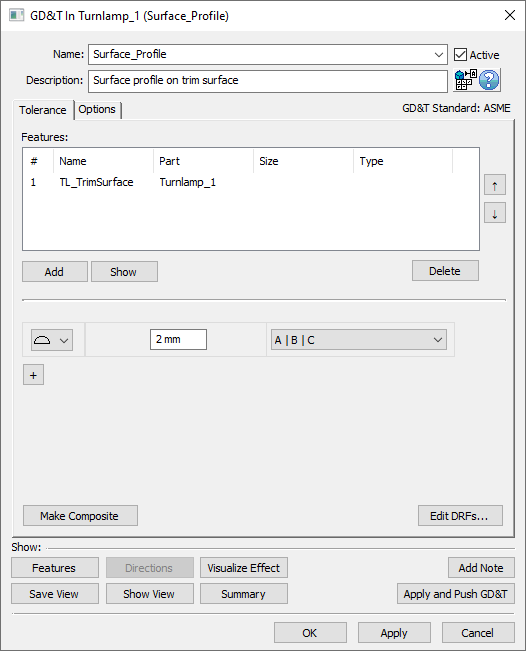
•Create a Surface Profile GD&T named "Surface_Profile" for the TL_TrimSurface of the Turnlamp. Add the Description "Surface profile on trim surface.".
The completed GD&T dialog should look like the image below.
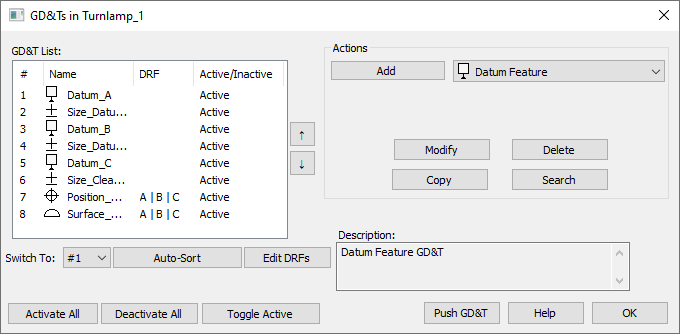
The complete list of GD&Ts should look like the following image.
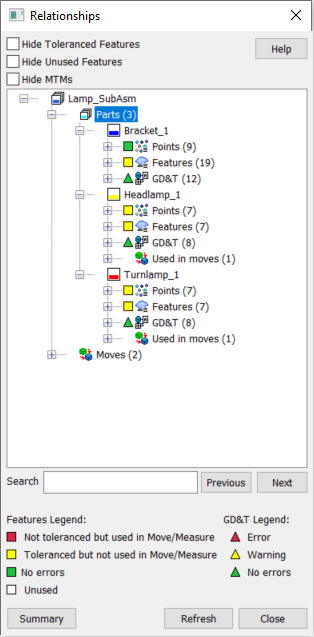
The Relationships dialog should once again show that all points and features have GD&T in the 3DCS Lamp Sub Asm model. Because we do not have any measures in the model yet, some points and features will show up in yellow. Once the measures are added, we will see much more of these points and features turn green.
•If the mesh is off, click on ![]() Show Mesh to turn the mesh on.
Show Mesh to turn the mesh on.
•Go to ![]() Creation Mode if not already there.
Creation Mode if not already there.
•Click the ![]() Deviate button.
Deviate button.
•Zoom in on the Turnlamp to inspect the deviating features.
•Click [Close] in the Deviate dialog after you have verified the features are deviating as expected.
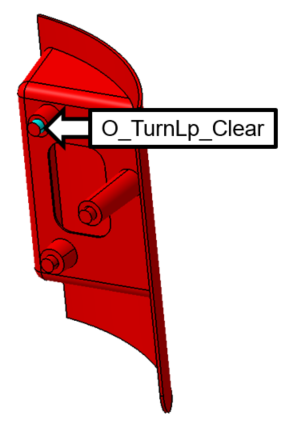
•Rename the new pin feature (the upper, inboard pin) in the Turnlamp according to the image below.
•Save the model.