The Enhanced Scene function allows users to set and save different formats of an assembly, such as position of parts, part transparency or hiding specific parts.
Example model: C:\Users\Public\Documents\DCS\3DCS_V5_8_2_0_0\3DCS CAD & Example Models\Reference Models\Five Button Mouse.CATProduct
|
Procedure: To create a new Scene:
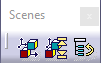
1.Locate the Enhanced Scenes toolbar in Assembly Design.
2.Select Enhanced Scene. The scene creation dialog will appear.
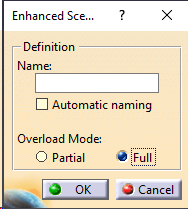
3.In the dialog, give the new Scene a name to identify or detail the Scene.
4.The Overload Mode can be set to Partial or Full. Read full description below.
oPartial: Only saves the translated parts.
oFull: Saves the current positions of all parts.
5.Select OK. The graphics will change showing the saved Scene. Here you can edit the Scene by hiding the parts, editing the color or other part parameters. Exit by using the Tools toolbar in the Scene graphics window and to save the Scene.
Procedure: To Apply a Scene: The first Scene created will not be different to the assembly and ignore applying the scene. The scene will only change the assembly, if the assembly is different than the scene.
1.Right-click on any of the inactive Scenes, if more than one exist.
2.Highlight Name Objects -> Apply Scene -> Apply Scene on Assembly.

3. If the Scene is different, the assembly will be updated to the position of the selected Scene.
![]()
Commands
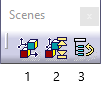
1.Create Scene: Creates a new scene with the current CAD position.
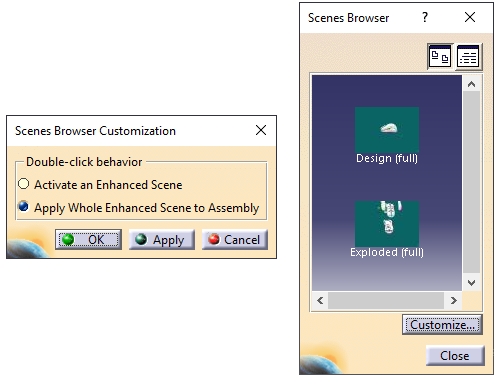
2.Scene Browser: Opens a list view window of each Scene in the Assembly. Double-clicking the scene in the list will change the current View in the Scene editor.
oCustomize: Allows the user to specify what the Double-click behavior do es in the Scene list window.
3.Re-order Application list: Allows the user to re-orders the application or current Scenes list.
![]()
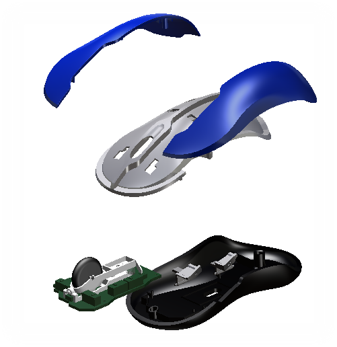
Examples:
Design Position |
Exploded Position |
Fig.1 |
Fig. 2 |

Notes:If applying Scenes with 3DCS, users will need to |